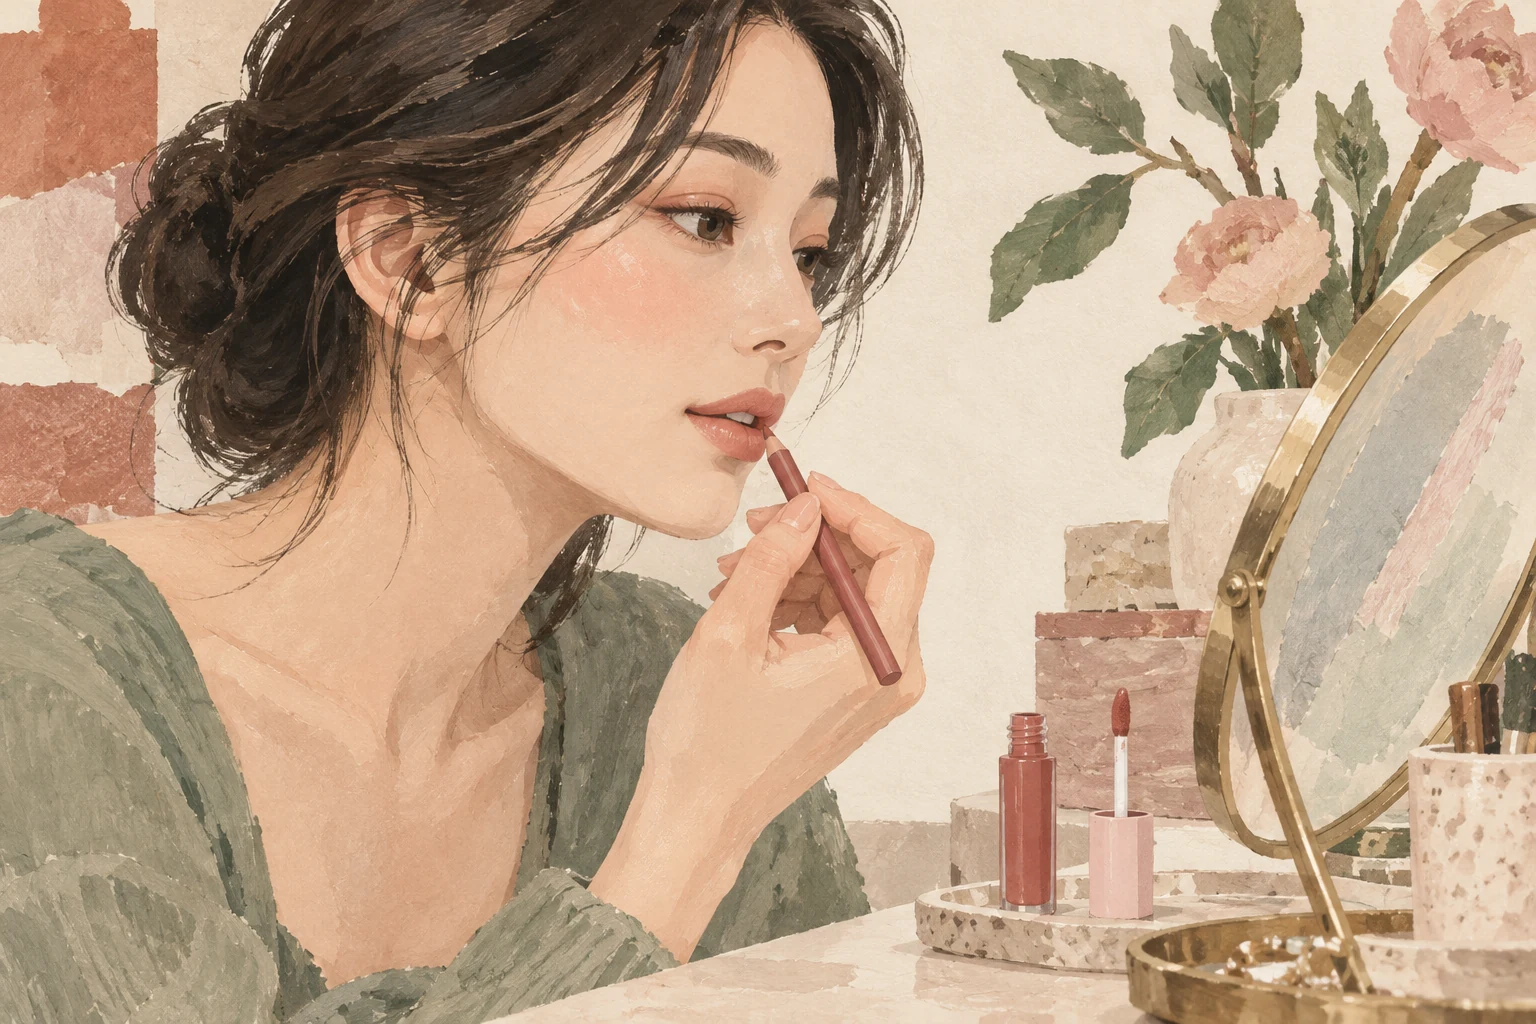
If your lip tint gives you the colour you want but the edge feels unfinished, a lip pencil can help. Start with a shade close to your natural lip colour, sketch lightly and soften the pencil towards the inside of the lips before adding tint. You can tidy the boundary without making your lips noticeably bigger.
That is the useful part of the soft-lined looks appearing in Korean beauty coverage: the pencil helps shape the colour, rather than leaving a separate ring around it. For a beginner, I would concentrate on a small adjustment and a low-contrast shade. Drawing a larger outline all the way round is a much bigger change than simply adding a pencil to your routine.
Decide what you want the pencil to do
There are three different jobs hiding behind the word liner. You might want a clear edge for a precise lipstick look, a softened edge for a blurred tint, or a small change to the apparent shape. They do not need the same application.
For definition, keep the pencil on your existing boundary and connect it to the lip colour. For a soft finish, diffuse the inner edge so there is no obvious jump from pencil to tint. If you want a fuller-looking centre, try a little extra colour around the central curves before changing the corners.
A pencil is particularly useful when a tint's large applicator keeps missing the edge you want. Think of it as a smaller drawing tool: use it for the boundary, then let the tint fill the larger area.
Choose a shade that works on your lips
A colour labelled nude is a starting point, not a match. Look at the shade of your actual lip boundary and the tint you intend to wear with it. A pale beige pencil may look very separate from a deeper or rosier lip colour, even if it looked subtle on someone else's arm.
For a first soft-lined look, I would choose a pencil close to the colour at the edge of your lips, or close to the tint if you want a more uniform result. The aim is a transition that is easy to blend. A visibly darker pencil can make a good contrasting look, but that is a different choice from trying to hide the outline.
Recent Korean lip-pencil styling coverage illustrates how a softened boundary and a more defined, glossy look can use the same tool differently. The useful lesson is the placement and contrast, rather than copying one celebrity's shade onto a different face.
A rounded crayon is not the only option
A broad, rounded tip is convenient for putting colour over an area and blending it. A narrower tip gives you more control over a small boundary adjustment. Choose the part of the job that you find fiddly: drawing a short line or covering a wider area.
JUNGSAEMMOOL, a makeup brand with complexion and colour products, offers a concrete example. Its Artist Drawing Lip Pencil has a slim square tip and is presented for overlip, shading and blush use. The square tip is a reminder that soft-looking makeup does not require a large round crayon. The line you draw and how you blend it matter too.
For a first pencil, I would prioritise a shade you can blend and a tip you can steer. Base, contour and overline describe possible jobs; they are not three separate pencils you must buy before you can begin.
Start with the existing edge, then adjust
- Blot away excess balm if the surface is very slippery. Leave your lips comfortable; you are removing the excess layer, not trying to dry them out.
- Follow the natural boundary with short, light strokes. Start where you actually want more control rather than automatically tracing a heavy line around both lips.
- If you want a slightly fuller-looking shape, add a small amount around the upper central curves or the centre of the lower lip. For a first attempt, keep the corners close to their original position.
- Soften the pencil towards the inside with a fingertip or lip brush. Keep the outer shape you have chosen while making the transition into the lip colour less distinct.
- Add the tint within that shape, then check the result with your face relaxed and the mirror a little farther away.
I would keep the corners familiar for a first attempt. A small adjustment at the centre is easier to judge than changing the whole mouth shape at once. You can always add more after that first look; a thick line is harder to take back without disturbing the colour.
Let shine and shape do different jobs
A pencil changes where you place the colour. A glossy tint or gloss changes how the surface catches the light. You can use one without the other, and more gloss will not blend an outline that is still visibly separate.
JUNGSAEMMOOL's overlip tutorial pairs a diffused edge with colour and central shine. For an everyday version, I would get the boundary right first, then add only the shine you actually want. If you prefer a matte or blurred finish, stop before the gloss.
Our guide to glossy and blur lip tints helps with that finish choice. This pencil step is about the boundary, so there is no need to replace a tint whose colour and feel you already enjoy.
Keep the useful part of the extra step
Before a touch-up, look at what has changed. If colour has faded in the centre but the pencil boundary is still there, refresh the centre rather than drawing another outline over the first one. If the edge itself needs correction, tidy that area before adding more pigment.
My starting choice would be one close-to-lip-colour pencil, a small amount of boundary work and the tint you already own. Add the pencil when it makes the shape easier to control. Skip it when blending your existing tint already gives you the soft edge you wanted. The successful outline is the one that belongs with the rest of your makeup, not the one you can spot first.