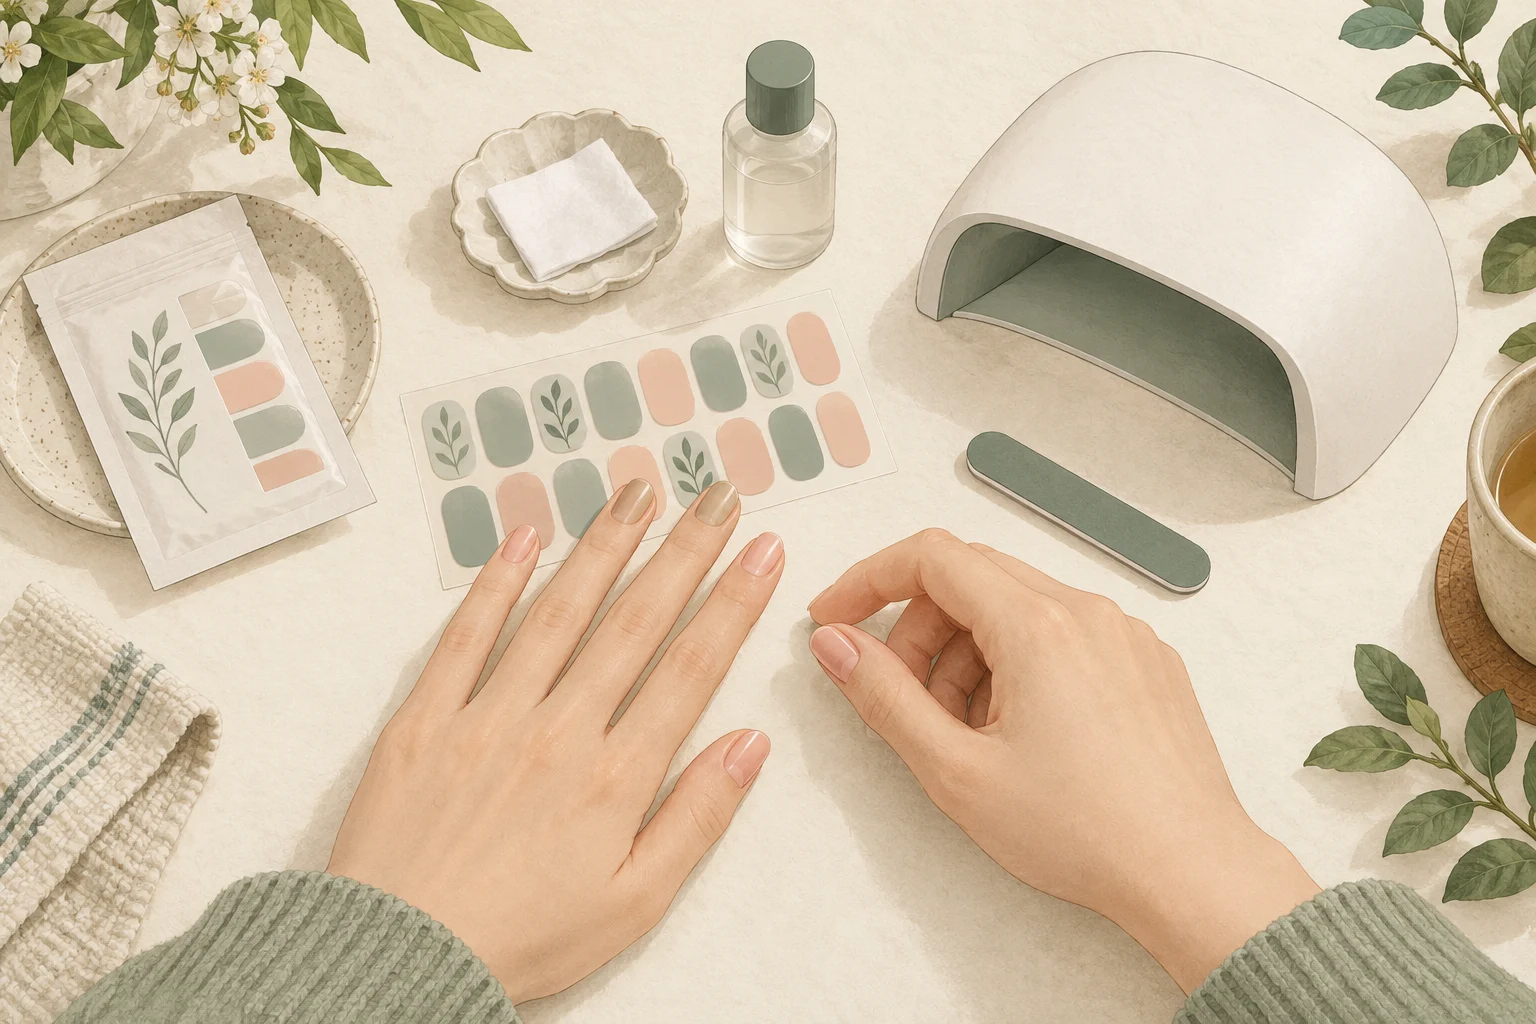
Yes: semi-cured gel nail strips such as Ohora need a UV LED curing step. They arrive flexible so you can fit them to the nail, then the specified lamp completes the process.
The design is already on the strip, which saves you painting it by hand. You still need to prepare the nail, choose the size, apply it neatly, cure it and remove it carefully later. That is the part worth understanding before you buy a set.
I would consider them if you enjoy patterned nails and do not mind some preparation at home. If your priority is a quick decoration with no lamp or equipment, look specifically for a product designed for that job.
Semi-cured does not mean ready to wear without curing
Ohora's explanation of its semi-cured strips is clear that a UV LED lamp is required. The flexibility helps with fitting; it is not a reason to skip the final cure.
The word “sticker” can make several different products sound interchangeable. An ordinary nail-art sticker may decorate a painted nail. Some nail wraps are designed to be worn without a lamp. A semi-cured gel strip is a different format, even if all three involve peeling something from a backing sheet.
Read the curing requirement before looking at designs. If the listing calls for a lamp and you do not want one, choosing a prettier pattern will not resolve that mismatch.
What you need beyond the sheet of designs
Plan for the correct lamp, the preparation products specified by the kit, something suitable to trim or file the excess, and the recommended remover. Check what the set actually includes before treating the strip price as the whole cost.
A lamp being called LED does not mean the process is free of ultraviolet exposure. For gel manicures, the American Academy of Dermatology recommends protecting the hands with broad-spectrum, water-resistant SPF 30 or higher sunscreen, or dark, opaque gloves with the fingertips exposed. Keep creams and oils off the nail surface that needs to adhere to the strip.
Use the lamp and curing directions specified for the product. A generic claim that any lamp will do is not a helpful substitute for knowing what your kit requires. Exact instructions matter more than a universal number of seconds quoted in a tutorial.
The preparation is part of the result
Begin with clean, dry nails. Ohora's application directions call for removing oil and moisture with the prep pad, then choosing a strip that fits and leaving a small gap at the cuticle.
That little space helps you keep the strip on the nail instead of overlapping the skin around it. A design can look beautiful on the sheet and still be frustrating if it does not fit the width and curve of your nails comfortably.
Work through the placement patiently, smooth the strip down and trim or file as the kit instructs. Then complete the curing step and finish the edge. You are saving the work of painting the pattern, not every part of applying a manicure.
Keep the unused sheet away from the working lamp. The strips are light-sensitive, so put the ones you are not using back into their protective packaging. It is a small organisational step that belongs in the routine from the start.
Think about the edges as well as the pattern
When choosing a design, ask how much you care about a very precise fit close to the sides and cuticle. Some people enjoy that careful fitting; others find it the least appealing part of doing their own nails.
Do not judge the value by how many pieces are printed on a sheet alone. What matters is how many of the available sizes work on your hands and what you can realistically use from the set. Do not assume that one sheet gives you a particular number of complete manicures.
If an edge starts lifting or catching in your hair, do not turn it into a picking habit. Assess whether it is time to remove the strip according to the product's directions. Trying to keep an increasingly awkward manicure for a promised wear time is a poor trade.
Removal deserves time in the plan
Ohora includes a separate remover step in its nail-care guide. The remover goes at the strip edge; give it time to work and ease the strip away as directed instead of pulling it off dry.
The fact that you can catch a corner with a fingernail does not mean peeling the whole strip is a good removal method. The AAD also advises against picking gel nail polish. Convenience at application should not be paid for with a rushed removal later.
If your nails are painful, damaged or the surrounding skin reacts, stop the manicure rather than covering the problem with a fresh set. Persistent changes need proper advice. You do not have to keep wearing gel to get value from a lamp you already bought.
Is the effort worthwhile?
I usually go to a salon for my nails. Part of the convenience is having someone else handle the application. A home kit asks you to take over that work, so I would weigh the equipment and removal as well as the designs.
For someone who enjoys carefully doing their nails at home, semi-cured strips can be an appealing option: the artwork is done, while fitting and finishing remain in your hands.
If you want fewer tools and no lamp, start with ordinary polish or wraps clearly designed for no-lamp use. Choose a semi-cured kit when you want pre-made nail art and are happy to take on the fitting, curing and removal.